Tips to create your own wedding checklist
A clear checklist will be beneficial for you and others who contribute to the wedding planning process. It is not only a tracking tool but also a great means of communication for everyone. Building a wedding checklist will take time and it can be overwhelming at first. However, checking off items will give you great joys and motivation. This article will recommend some tips to create an efficient checklist for your wedding preparation.

Why do you need a wedding checklist?
The benefit of having a wedding checklist early is to stay organized and put yourself at peace. No matter how joyful it is, the wedding preparation process can be stressful as well. There is a great chance that you will miss small items on the go as you get too busy with other tasks. Having all of them listed out will put you in better control of the situation. Also, a checklist can be a great communication tool between the couples. Both of you can stay informed about the progress without micromanaging the other or pressing for updates.
When is the good time to start the checklist?
The answer is the sooner the better. You should start as soon as you say Yes! The exercise of creating the wedding checklist can give you an overview about the amount of works and time needed for wedding planning. You might realize you need more help or can reduce the details for an easier process. If you are already in the middle of preparing for the wedding, you can still create a checklist for the remaining works. It can help you avoid missing tasks and be more efficient.
What are included in a good wedding checklist
Each person has a different way of using a checklist. However, in general, a good wedding checklist should have enough information for you to use it continuously. Think about what you need to plan your wedding efficiently. Basic checklist elements should include the task, due date and assignee. By looking at the checklist, you should be able to see who is in charge of a task, when it should be done and what are the remaining ones. Wedding checklist should be clear and easy to use for everyone.

How to create your own checklist
- List all your tasks:
Simply start with a pen, some sticky notes or a piece of paper. You can write down anything that comes to your mind when you think about your wedding. It can be a big category like “Guest” or small items such as flowers, shoes, dress… There is no need to put them down in any order at first. You can write freely as the idea pops up in your head. Also, you can go virtual by using Word or Excel. Either way should work the same. - Gather others’ inputs:
Feel free to consult your significant other, close friends and family members when you do this exercise. It is even better if they can join you in writing down the to-do list. More eyes will always be better. They might cover some items that you missed. - Group items by category:
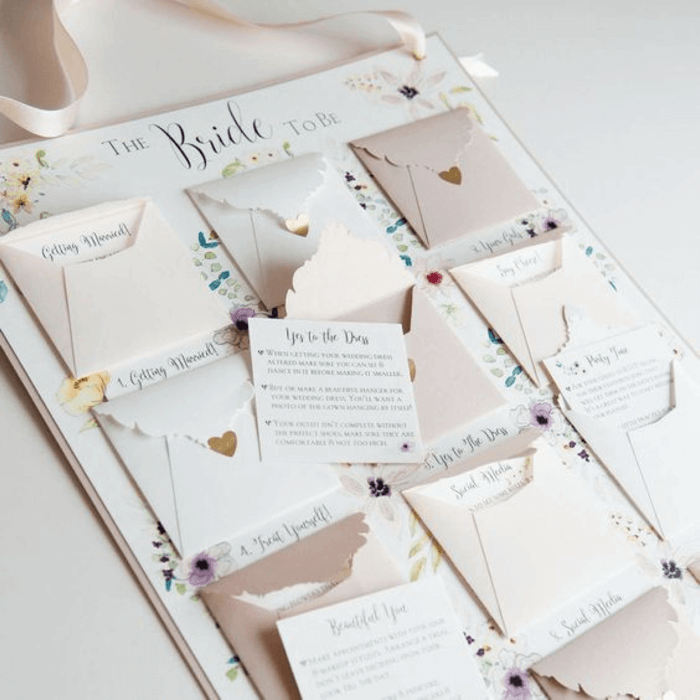
Once you feel like you have listed everything, it is time to start grouping. You can find common themes in the items and bring them together. There can be a big category which contains other small sub-categories as well. Let’s look at an example: you might have written “Shoes”, “Dress”, “Suit”. These three items can go under the “Attire” umbrella. As you might buy all your attire, they can go into the “Shopping list” together with other things you need to purchase for the wedding.Ideas table for brides-to-be - Prioritize the items:
Now, let’s do some estimation. You can make your best guess on how long it will take for you to get each task done. For example: you might need 2 months to find your dress but 1 week to print your wedding invitation. You can rank the items in their category based on the time it takes. When in doubt, there is no harm to give them a more generous estimation. - Divide your time:
Look at the duration from the planning date to the wedding date and break them down to small trunks. The purpose is to create a suggested timeline for your task completion. Some people like to do it by month (6-month mark, 3-month mark,...) while others prefer a weekly method (8-10 week, 1-2 week). It is entirely up to you to go with your comfortable pace. - Match time with your items:
The last step is to match your timetable, which has been broken down into small equal periods, with your tasks. You can match time based on the time estimation that you had done and the priority of each item. Another method is to distribute the work from each category into the time period. - Assign task:
Please say you have someone to help you. Let’s assign them some tasks in the checklist. As you build the list, be sure to give each task an assignee. Whether it is your significant other, your maid of honor, vendor, etc.. They should be informed about their task and the checklist so that they can also contribute to the preparation. On the other hand, you can always come back to the wedding checklist to find a contact point for any task any time. - Get it done:
What you have in hand now is your wedding plan checklist. You can start from your first week task and slowly bring them to life.

Tips
- Do your research:
The more detail the wedding checklist is, the easier it will be for you to follow. If you are not sure all items are included, you can always do more research on the wedding plan. Another option is to seek advice from other people, including the wedding planner. They can give opinions on the tasks as well as time distribution. - Modify existing list:
If you do not have time to create your own wedding checklist from scratch, there are many predefined ones available. They are readily available and you can find a suitable wedding checklist and adapt them to your situation. It might need a few changes and you still need to distribute your time. However, using a pre-made list can give you an idea about where to start. There are multiple wedding tools that you can use to make your life easier as well. - Don’t overwork yourself:
The checklists should be feasible to you and the assignees. If you find weeks with overwhelming tasks for one person, an adjustment might be needed. You should discuss your wedding checklist with other people to find a good balance between getting the job done and enjoying the process. - Don’t forget to check off items:
It is the joy of the process! Whenever you get a task done, you should check off that item on your checklist. On one hand, it will keep other members informed about the progress. On the other hand, you will receive a motivation boost to tackle more tasks. - Be flexible:
As the process goes, there would be tasks added and removed. You shouldn’t feel pressured if things need to be moved around in your checklist. Staying relaxed as you go through the wedding checklist and acknowledge the changes will give you more energy to work on your real tasks.


